Blog
A Step-By-Step Guide to Using Automotive Panel Fasteners
Automotive panel fasteners serve an important role in any body shop. Because they secure body panels to the frame and each other, they must be able to withstand the jostling that happens inside a vehicle. Proper installation is key to ensuring that integrity.

Remove Old Fasteners
In some cases, you will need to remove the old panel fasteners before inserting new ones. This is done with a simple handheld tool. Insert the tool's forked end under the head of the old fastener. Then, gently pry it loose. This technique works for most common plastic fasteners on the market. However, you may run into an older or modified one that requires a little more work.
Choose the Correct Fasteners
You must start with the right components for each job. A few things to consider when selecting automotive panel fasteners include:
- Material being secured
- Likelihood of future removal
- Needed strength of repair
- Location of repair
- Thickness of repair
- Environmental conditions
Taking these factors into consideration will help you choose the right automotive panel fasteners for each task. Popular styles include:
- Rivets
- Door panel clips
- Canoe clips
- Xmas tree fasteners
- Flat and tubular nuts
Apply New Panel Fasteners
Once you have selected the appropriate fasteners, you are ready to start installing. Now is a good time to ensure you have all the tools you will need on hand. This will ensure a smoother, more efficient process and help you avoid unnecessary extra steps.
Start by ensuring that all parts are clean and free of imperfections that might interfere with securing them. Then, insert any required retaining clips. Hold these in place as needed as you insert the appropriate fastener. Using the correct tool, tighten it to secure the panel in place.
Use Appropriate Tools
Panel fasteners use different tools than standard nuts and bolts. Luckily, these are pretty straightforward pieces of equipment. Most panel clips insert with gentle pressure and no tools. you may need a pair of pliers for placement, to hold a retaining clip, or to gently squeeze the piece while inserting it.
If you are using rivets, you will need a special tool for setting these. For occasional use, a hand setting tool is usually sufficient. However, high-volume shops may benefit from investing in an air-powered riveter.
A trim removal tool is crucial to removing old fasteners and clips to prepare surfaces. These typically have a thin neck with a flat, forked end. This slips under the head of old fasteners so you can pry them up. Some open and close to allow you to grip and pull as you remove old clips.
Certain types of panel fasteners have drive heads that accommodate a slotted screwdriver or hex wrench. Others include a raised tab to grip, making it easy to turn or pull the old fastener out without tools.
Stock Up on Automotive Panel Fasteners
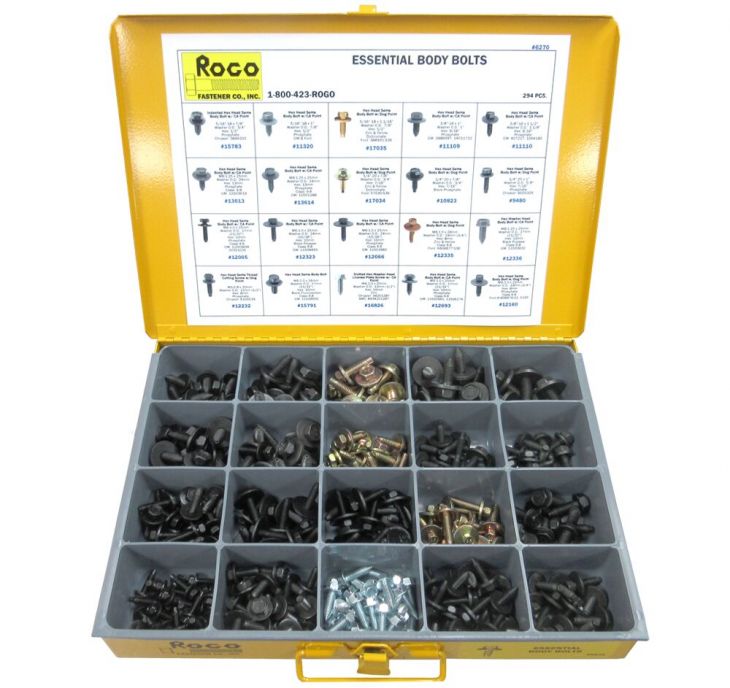
Any repair starts with premium-grade parts. ROGO Fastener carries professional automotive repair parts, including a full line of automotive panel fasteners. Contact us to stock your shop with the parts you need.
Sources:
- https://www.essentracomponents.com/en-us/news/solutions/fastening-components/a-guide-to-panel-fasteners
- https://www.familyhandyman.com/article/whats-really-holding-your-car-parts-together/
- https://www.bodyshopbusiness.com/a-little-lesson-in-profits-fasteners-clips-and-rivets-oh-my/'
- https://www.assemblymag.com/articles/85900-fastening-christmas-trees-ain-t-just-for-december
