Blog
4 Tips For Mastering Automotive Fastener Installation and Removal
Whether you are a professional or a home mechanic, installing and removing various automotive fasteners is a basic component of the repair and maintenance of vehicles. Using safety measures along with the proper tools and procedures for each type of fastener is critical to maintaining the safety and integrity of your vehicle.

Important Safety Measures
Before working on any vehicle, taking the necessary steps to keep yourself and others safe is important.
- Wear protective equipment such as work gloves and safety goggles.
- Use the right tools for the job at hand.
- Adhere to the vehicle manual or fastener manufacturer guidelines on torque settings or specific techniques.
- Secure the vehicle by engaging the parking brake and placing blocks on the wheels.
Ensuring your safety while working on a vehicle is as important as doing the job well.
Fastener Installation and Removal
Improper installation or removal of automotive fasteners can lead to system failures or even serious accidents. This is general information on common fasteners but remember, it is always important to refer to the vehicle's manual or the parts manufacturer for specific guidelines.
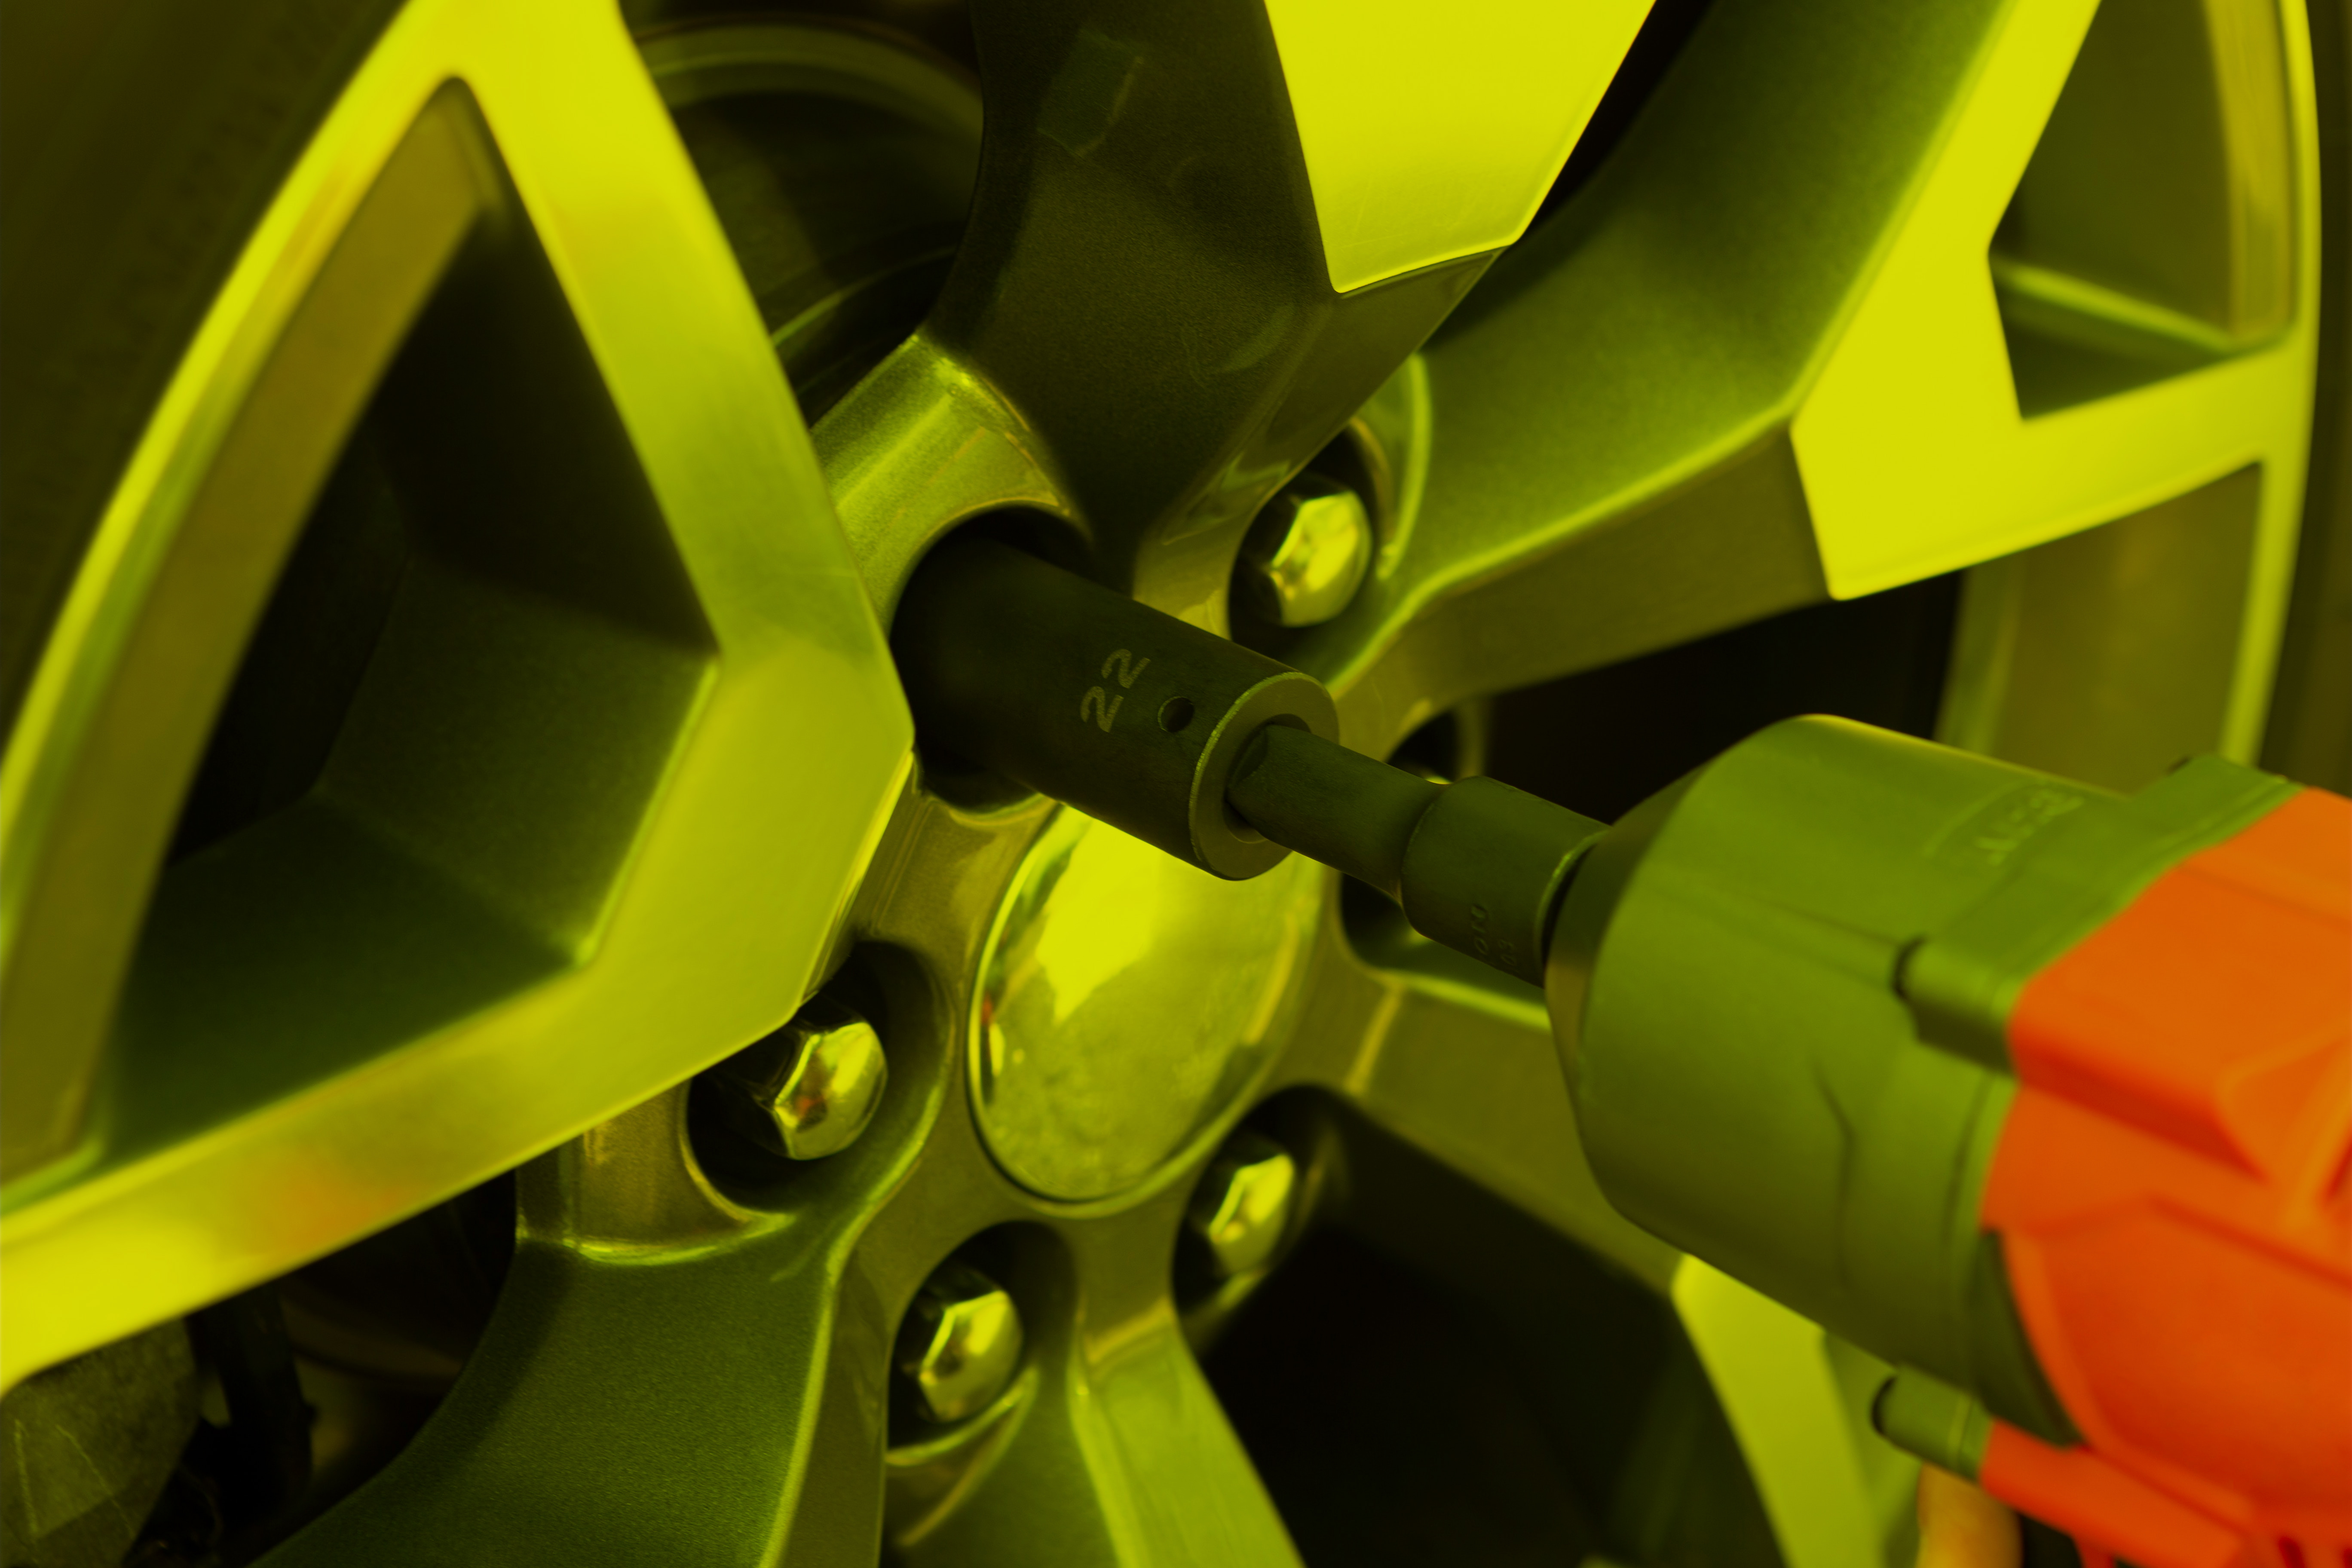
1. Nuts and Bolts
When installing threaded fasteners, the threads must be in alignment before tightening. Start the installation by hand so you can feel if the fastener is threading correctly. Use an anti-seize compound on the threads before installation to make them easier to remove and protect them from debris and rust.
Torque is crucial for fastener installation in most automotive applications. Fasteners that are too tight can strip threads while those that are too loose can lead to parts being insecurely installed. You'll need a good torque wrench and your vehicle manual to ensure proper installation.
Use a socket or wrench to remove nuts and bolts. If the person who installed them used an anti-seize compound, this should be a fairly easy procedure. If not, you may be dealing with rust or corrosion and could need a penetrating compound to loosen the fasteners.
2. Screws
Screws are another type of threaded fastener. For installation make sure you are using the correct type of screw. Some fasteners, such as self-tapping screws, are only appropriate for specific applications. Just as with bolts and nuts, avoid over or under-torquing.
When removing screws, use the correct screwdriver or bit and avoid stripping the screw head. A stripped screw changes a simple job into something much more challenging.
3. Cotter and Split Pins
Automotive pins are inserted into a hole or slot and then bent to secure it in place. You'll need a pair of needle nose pliers and some diagonal cutters. To remove them, simply unbend the pin and pull it out. Cotter and split pins are single-use fasteners, be sure to discard them after fastener removal.
4. Rivets
To install automotive rivets, you need a rivet gun. Once you have this essential tool, fastener installation is fairly simple. Rivets are intended to be permanent fasteners, so removal can be difficult. The most common method is to use a drill to remove the center pin.
Automotive Fastener Inventory at ROGO Fastener
ROGO Fastener provides automotive fasteners to businesses and individuals. They have an extensive inventory of fasteners as well as the necessary chemicals, supplies, and accessories every mechanic needs. Take a look at what ROGO Fastener has to offer today.
Sources:
- https://transportation.wv.gov/highways/training/TrainingDocuments/Crawfords_Auto_Repair_Guide.pdf
- https://www.lni.wa.gov/safety-health/safety-topics/industry-topics/automotive-maintenance-repair
- https://www.narfa.com/safety-tips-how-to-prevent-5-frequent-injuries-in-the-automotive-industry-workplace/
- https://ptt.edu/blog/safety-rules-for-automotive-repair-shops/
- https://www.caranddriver.com/features/a26948859/best-torque-wrench/
- https://blog.baysupply.com/how-to-use-tools-for-rivet-removal
